
KGMA’s PRACTICAL DRUMMING GUIDE


Lesson 3 (Part 1): Drum Kit Maintenance
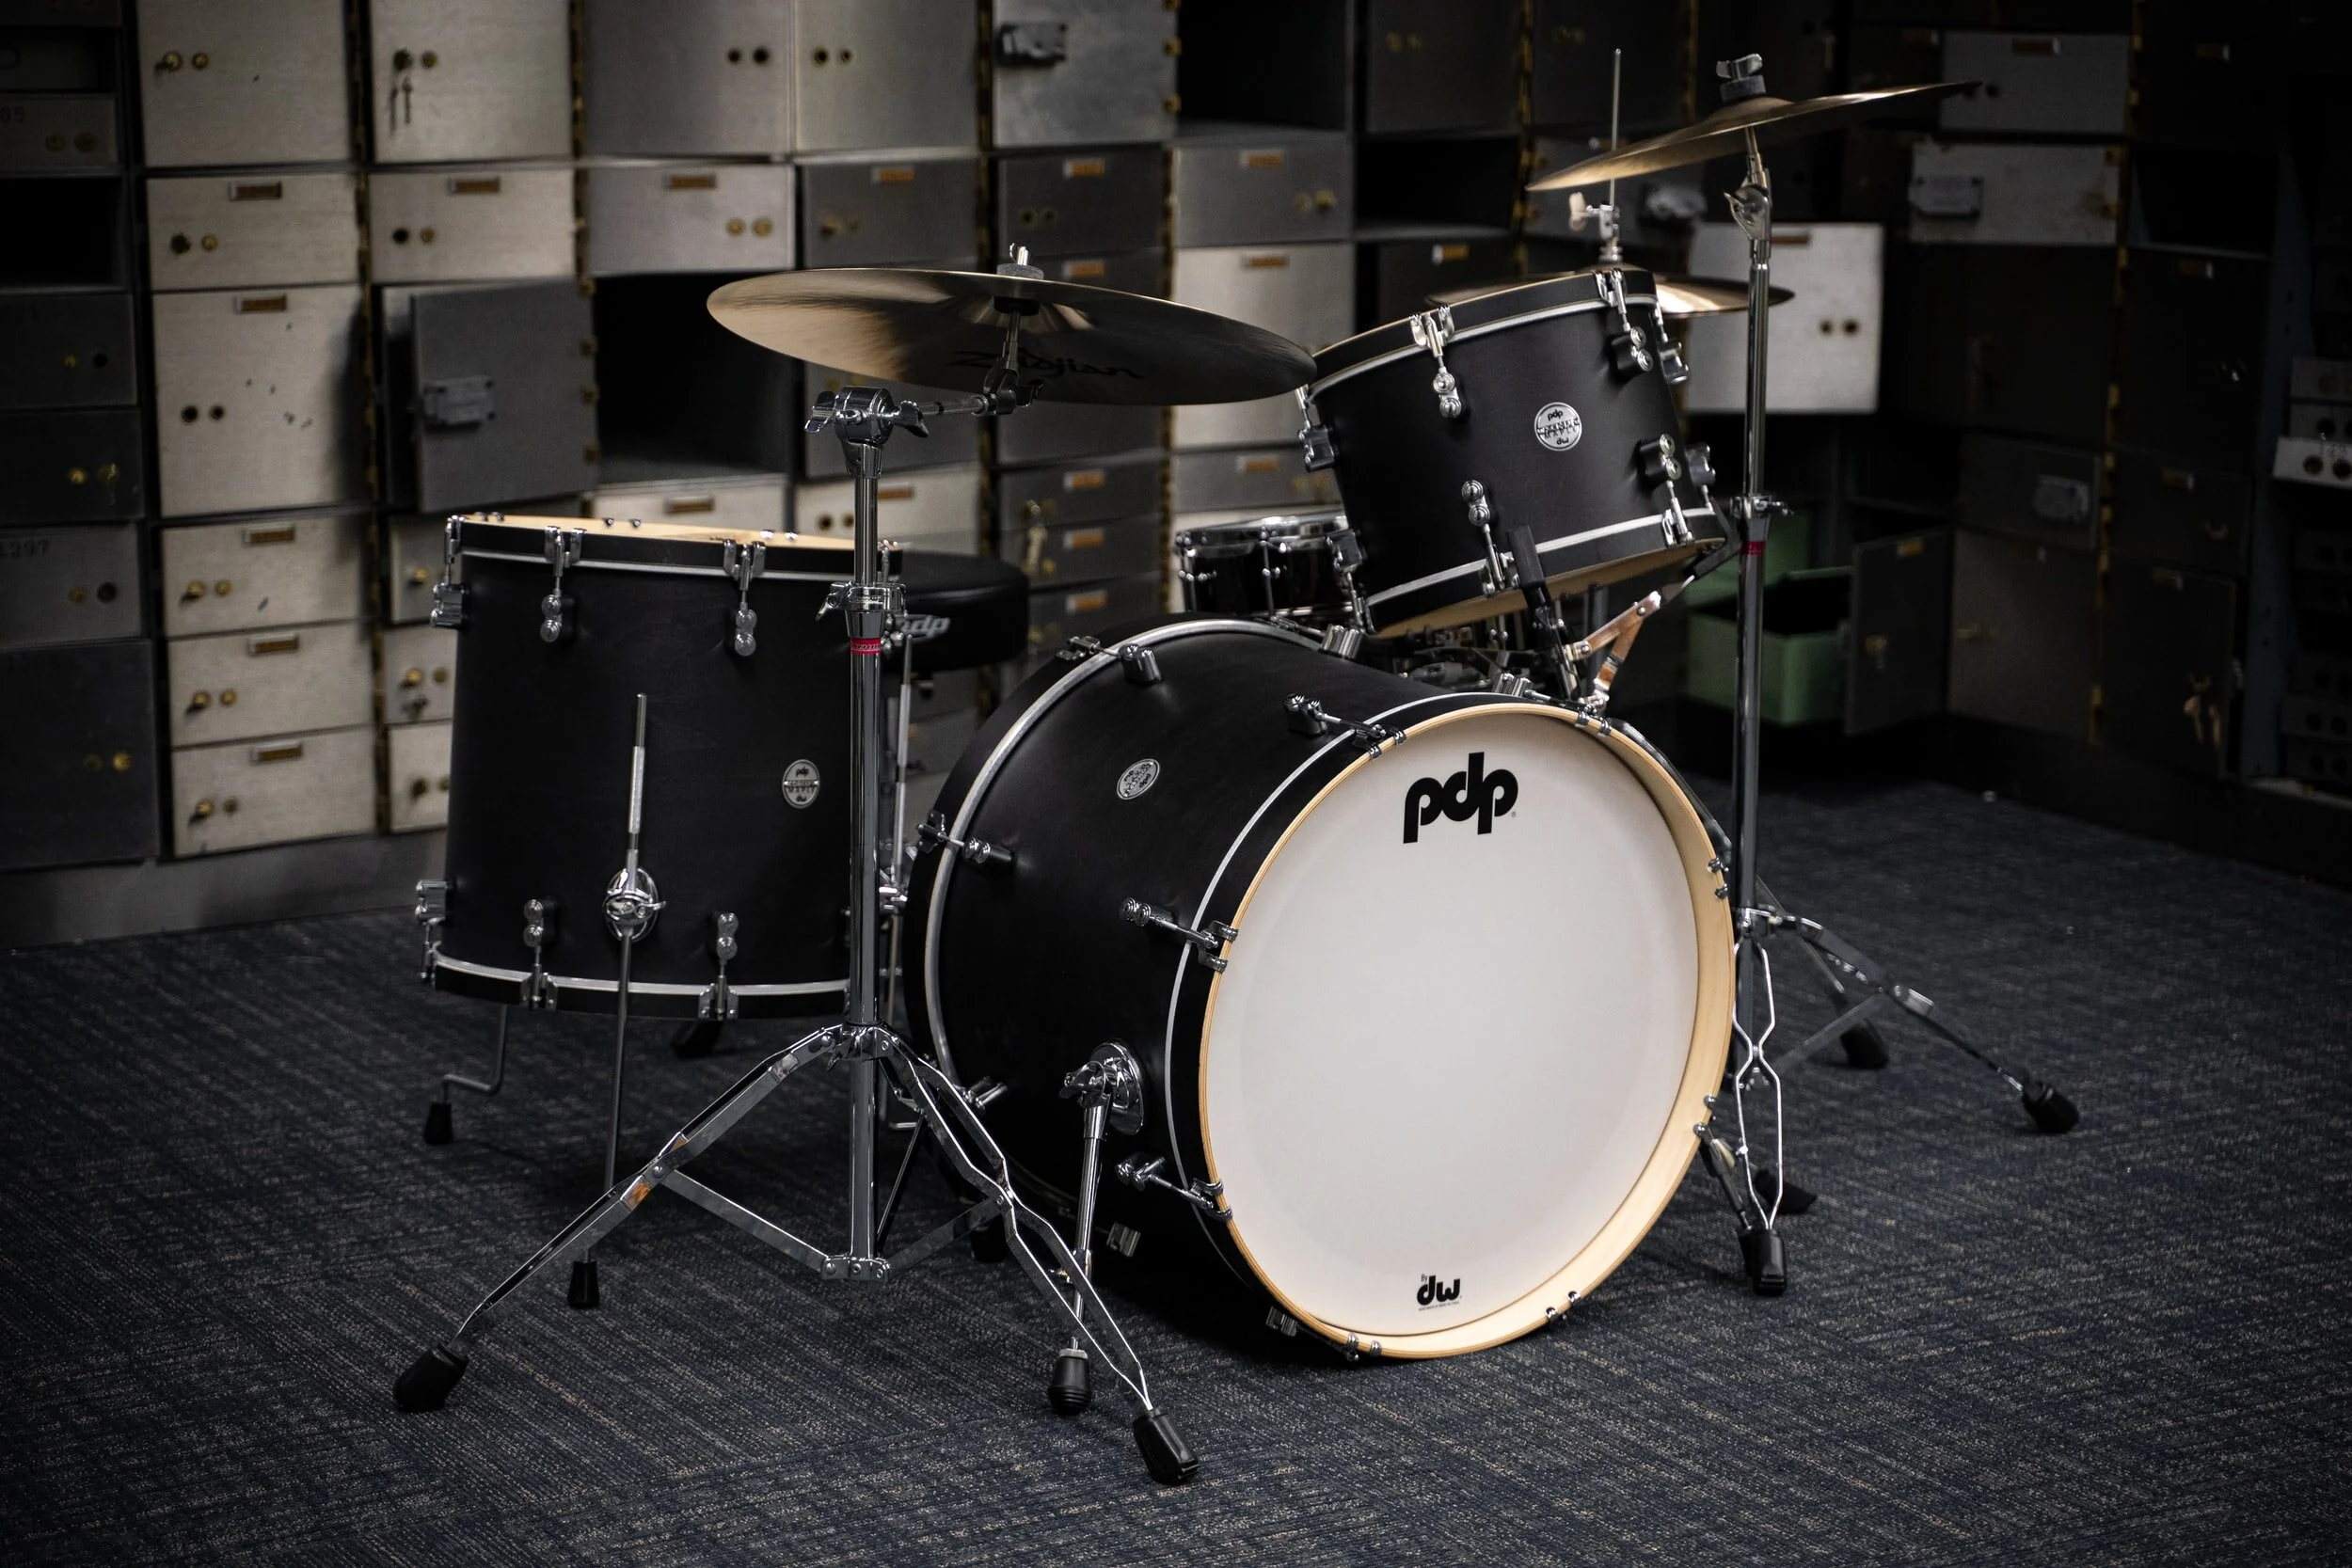
In this lesson we will cover another essential part of drumming that every drummer needs to know, cleaning and tuning your own drum set.
Today you will be guided on how to change your drum heads and how to maintain your drum. Watch the video below for a more thorough guide by our drum teacher Darrill. Let's get started!
Changing the Drum Head
Drum heads can get worn out after time, or broken. Hence as a drummer, knowing how to change a drum head is a useful skill to have.
Here are the following steps you will need to take to change your drum head:
Start by loosening the tension rods evenly, remove the old drum head from the drums.
With a dry cloth, clean any dust or debris from the rims and wipe the insides of the drum.
Then place the new drum head on the drum, making sure that the new head is centered.
Next, apply pressure in the center of your drums with your palm and push down.
Then start to tighten the tension rods evenly using your fingers, not using the drum key yet.
If you find difficulty tightening the tensions rods, try lubricating the rods with vaseline or a paraffin wax.
Last but not least, use a drum key and start to tighten the tension rods for tuning.
Maintenance Of Your Drums
It is important to keep your drums and equipment clean at all times, to ensure that your instruments have a longer lifespan and that they maintain their proper sound.
You should clean your drums every few months at least, or when dirt and dust starts to accumulate. Simply use a clean cloth to wipe the dust and dirt off the outside of the drum.
If possible, try to opt for a deep cleaning of drums at least once a year.
...and that’s it for this week! Stayed tuned for part 2 next week where we will teach you how to tune your drums! 😉
![[www.kinggeorgesmusic.com][97]Customdimensions800x200px28529 (800 x 200).jpg](https://images.squarespace-cdn.com/content/v1/55957104e4b0d2540b621e99/1598084041294-C8XCLDOWRYRVPIHOLG22/%5Bwww.kinggeorgesmusic.com%5D%5B97%5DCustomdimensions800x200px28529+%28800+x+200%29.jpg)